Purpose:
Tiertime Task is a type of sliced model file specifically created for Tiertime 3D Printers. It can be used as a data input source sent to the compatible Tiertime 3D Printers to print without going through the slicing process.
Data composition:
Tiertime Task file consists of three sets of information, the Print Profile, the Printer Profile and the Model Data, which represents three different aspects of a printing process.
The Print Profile is a set of parameters related to the print settings, such as: layer thickness, support settings, and etc., which defines all the necessary settings before you want to print a model.
The Printer Profile defines the set of parameters related to the printer, such as: nozzle size, filament type, printer model number, and etc. If the target printer setting is compatible with the printer profile defined in a Task file, the Task can be printed on the target printer.
The Model Data is the sliced model data generated by the slicer using the parameters defined in the Print Profile and the Printer Profile.
Task File Generation:
To generate a task file, you need to have a connected Tiertime printer.
- Open the UP Studio software.
- Connect the target Tiertime 3D Printer.
- Define the Print Profile: Change the setting in the Printing Setting to specify the detail information related to the print, like layer thickness, support setting and etc.
- Define the Printer Profile: In the UP Studio, change the settings
related to Printer Profile, such as: Nozzle Size, Filament type, and
etc.
Click Print Settings -> Click Preview -> Choose “Save to file” in the drop-down menu. - Save the Task file: Click Print Settings -> Click Preview -> Choose “Save to file” in the drop-down menu.

Figure 2.1 Add a New Task File Figure 2.2 Save a New Task File Figure 2.3 Save a New Task File
If you have more than one model inside the build envelop, all the models will be saved separately in a folder which you select. If the models are merged, they will be treated as one model and only one Task file will be generated.
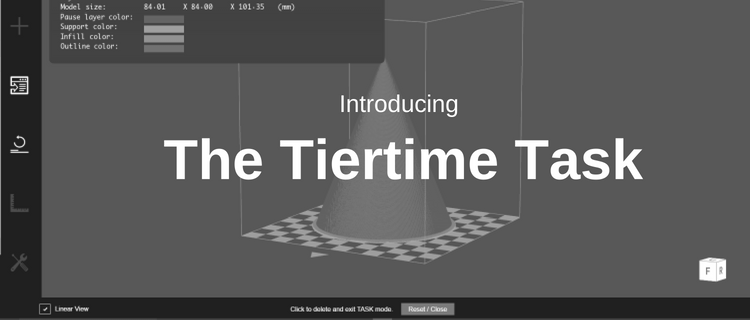
Print from a Task file
You can start from the Main Menu “Add” -> Add 3D Model, and choose .tsk in the File Chooser for the Task files. The UP Studio will swtich to Task Mode, and load the model from the Task file.
Figure 3.1 Load a Task File Figure 3.2 Send a Task File
Once the model is fully loaded, the “Send” button will be enabled on the left menu. Click the “Send” button, the software will send the data to the printer. You can click the “Reset/Close” button to exit the Task Mode.
Compatibility of a Task File and a Printer
In order to print a Task file on a printer, the Printer Profile of a Task file has to match the Printer Profile of the Printer.
Printer Profile includes the following parameters: Nozzle Diameter, Build Volume, Printer Model, Material Type, Material Left.
The Printer Profile of a Task File is compatible with the Printer Profile of a Printer mean the nozzle diameter, build volume, printer model, and material type is the same as the current setting of the printer, and the material left in the printer is enough for the printer to finish the model.
If the Printer Profile of a Task file is not compatible with the Printer Profile of the Printer, the UP Studio will give an error message, and you need to adjust the Printer Profile of the Printer to make sure the compatibility.
