Tiertime Print Queue allows multiple users on the same Local Area Network simultaneously send print jobs from different devices to a shared printer via USB/Wi-Fi/Ethernet. You and your colleagues could send your model data using just one printer without unnecessary time wasted waiting for other people’s print jobs to finish. Print jobs in the Print Queue appear in the print list on a first-come, first-served basis.
Whether you are a STEM teacher, a designer, an engineer or the proprietor of a miniature factory, the Tiertime Print Queue offers a robust, easily-accessed, multi-job print experience for extended production cycles.
You can access the Print Queue by clicking the Message Box on the lower right of the Software interface. When the Print Queue is empty, the Message Box will show the text “Waiting for Assignments”. Once there is print jobs sent to the printer, the Message Box will show the name of the print job being printed, for example, “prism-printing”, the “prism” being the name of the print job.
You can click the Print Queue Message Box to access the Print Queue Manager, a dialog showing the Print Queue Current List and the Print Queue History List.
Print Queue Current List:

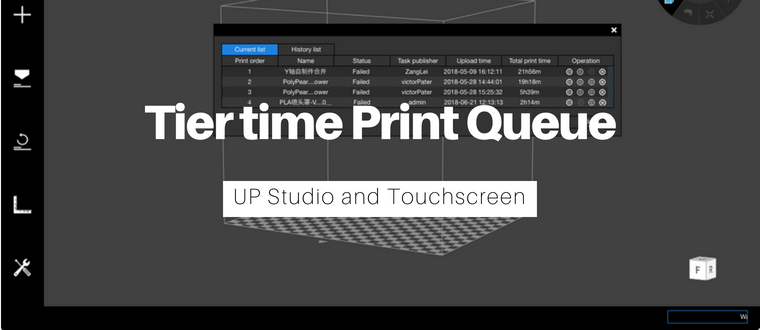
As Figure 1 shows, Current List contains the list of all the print jobs currently queued in the printer. It shows the information of each print job including: Print Order, Print Job Name, Status, Task Publisher, Upload Time, Total Print Time, and the Section of Operations. Once a print job is finished, it will be moved to the History List.
Print Order: It is the order number that the print job is currently scheduled to be printed. The order number could be changed with the operations shown on the right side of the list to move the order of the print jobs in the queue.
Print Job Name: The name of the print job is the model name of the print job without the brackets. If the print job has more than one model, the print job name will be the brackets with a row of the model names.
Status: It shows the status of a print job.
Printing: The print job is being printed.
Failed: The print job has failed during the printing process.
Waiting: The print job is waiting to be printed.
Task Publisher: The name of publisher would be the login name of the user, or the name of the computer which the user uses for the print job sent.
Operations: All the users on the network can view the information of the print jobs in the print jobs list, also can make changes to the list, including make changes of the order of the print jobs, and delete print jobs.
Caution: The Operations of the Print Jobs List might affect other people’s print jobs, including change the order of the print jobs, or delete a print job. Please use with cautions.

Status: Status shows the results of each print job.
Failed: Print jobs were not successfully finished.
Completed: Print jobs has been printed out successfully.
By going to the History List you can review the print jobs processed in the past on this printer, including the information regarding to who printed what models, whether the model was printed successfully, and how long it took to print that model.
In addition, if you would like to print the previous model which was listed in the History List, check the check box on the far end of the row, click the link at the bottom “Repeat printing is selected”, and enter the repeat time in the pop up dialog (Maximum is 9 times). Once it is done, the newly defined print job will appear in the Current List.
Manage the Print Queue on the Touch Screen on a 3D Printer
Pressing the “Print” button in the main menu will bring up the Print Job Current List the same as the one in the software. Clicking the name of each print job will bring up the detail information of the print job for print.


Pressing the “History” button in the print menu will enter Print Job History List which contains all the previous printed jobs. Click the name to view the print job’s basic print settings, then click “Add” to move the print job to Print Job Current List for further print.
Delete: The selected print job will be removed from the Current List to the History List.
History List: A list of print jobs that were finished in this printer, whether the job fails or not.
Add: Select a print job in the History List to Current List.
Clear: Erase all print jobs inside the History List.
The list of the print tasks appears is the Current List shows in the software, on the left side.


